


HOW TO HANG ART - The best guide to hanging pictures
|
|
Time to read 8 min
|
|
Time to read 8 min
You’ve chosen beautiful art prints to enhance your home decor — fantastic! Now comes the crucial step: hanging your art prints perfectly.
But where exactly should they go, and how do you ensure they’re level?
Many people struggle with getting picture placement just right—too high, too low, or just not quite balanced. But don’t worry, we’re here to make it easy.
At Beach House Art, we’ve spent years helping customers display and hang their framed art prints.
We’ve gathered our top expert tips to ensure you hang your art right the first time—no unnecessary holes, no wonky frames, just perfect picture placement.
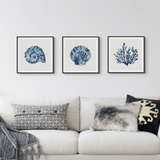
Love coastal interiors? Shop our Coastal Art Prints for a serene, beachy feel.
The most common mistake we see is art hung too high or too low. The general rule? Aim for eye level.
💡 Pro Tip: If your ceilings are particularly high (over 3m), you might need to adjust and hang slightly higher—but never too high that the artwork feels disconnected from the room and the furniture below it.
Exceptions to the rule of eye height:
Need prints for your living room? Browse our curated living room art collection.
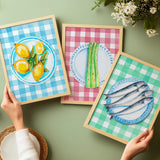
When hanging multiple art prints , think of them as a single visual unit rather than individual pieces.
Keep your print spacing consistent
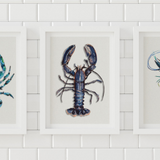
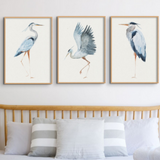
Grid Layout – Clean, structured, and polished (best for identical-sized frames).
Linear Layout – Simple, sophisticated, and easy to install (perfect for hallways or sofas).
Freeform Layout – Creative and personal, using mixed frame sizes and styles.
💡 Pro Tip: If you're unsure about positioning, cut paper templates to the size of your frames and tape them to the wall with painter’s tape . This allows you to adjust before committing.
Looking for perfectly curated sets? Check out our gallery wall art sets.
✅ Treat the entire arrangement as one piece – Find the center and align it with eye level.
✅ Use Templates – Cut out paper templates and use painter’s tape to arrange them on the wall before hanging.
✅ Start with a Hero Piece – Begin with a larger, eye-catching print as an anchor and build around it.
✅ Mix Sizes & Frames Thoughtfully – Play with variations but keep an element of cohesion (like a recurring frame style or colour theme).
💡 Pro Tip: Avoid using picture rails for gallery walls unless you're confident in keeping them neat—traditional hooks or Command Strips often work better.
Struggling with placement? Let us create a digital mock-up of your space so you can see how your prints will look before you buy. Get in touch now .

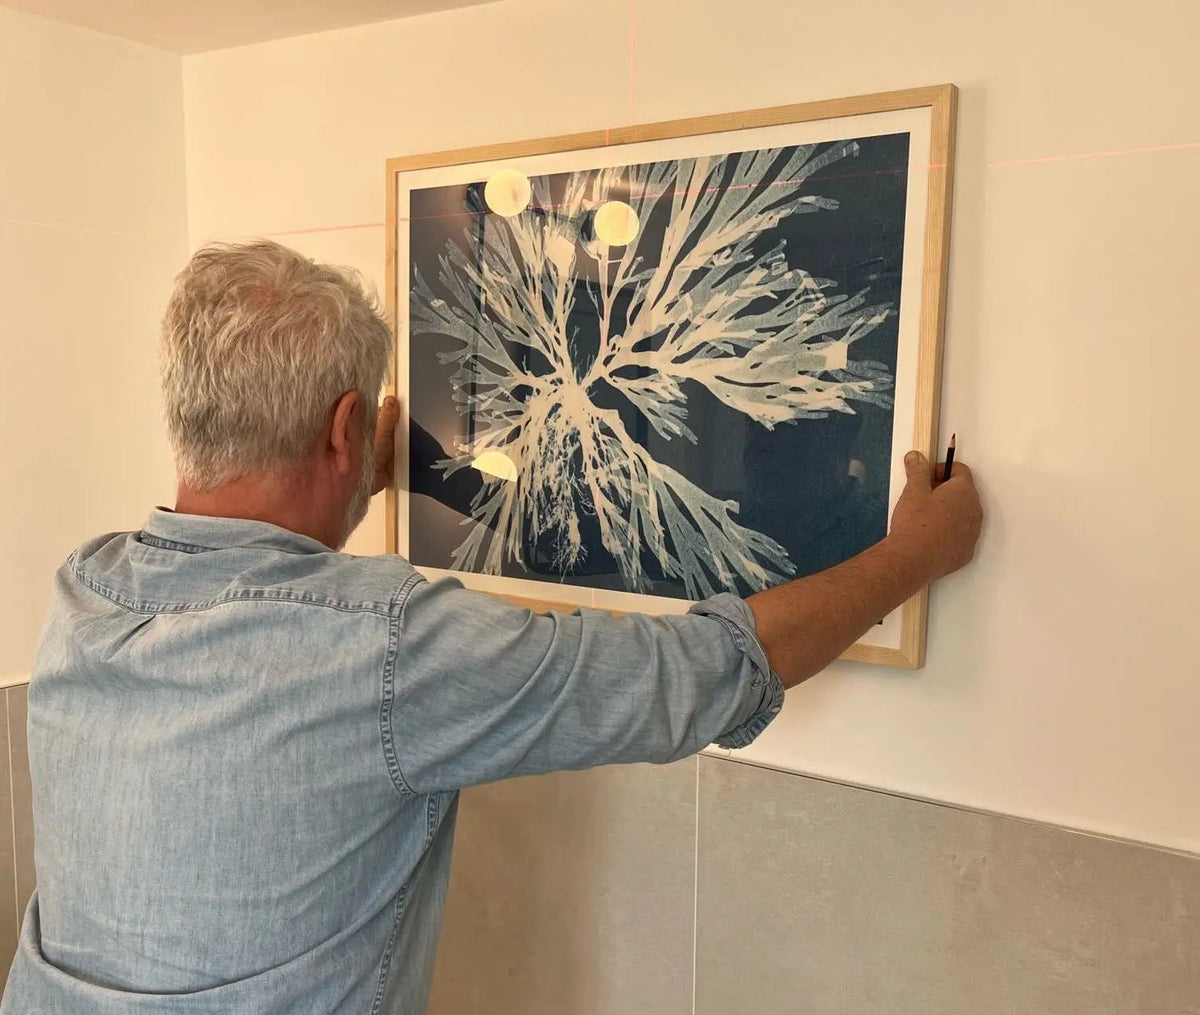
Use two fixing points for heavier frames to keep them level.
Place a book or magazine at the back of the frame where the string naturally rests—this helps mark the perfect hook positions before drilling.

💡 Pro Tip: If your walls are plasterboard, use wall anchors for heavier frames to prevent damage.
Before reaching for the hammer, gather your essential tools and consider your wall type. This will make the process smoother and ensure your art stays secure.
✅ Tools You’ll Need:
• Measuring tape – Essential for marking correct placement.
• Pencil – Lightly mark your wall without leaving permanent marks.
• Level – To keep your frames perfectly straight.
• Picture hooks & nails – Choose ones suited to your wall type.
• Painter’s tape – Great for testing layouts before committing.
• Hammer or drill – Depending on your wall surface.
• Command Strips (optional) – A renter-friendly option for damage-free hanging.
💡 Pro Tip: If you’re hanging multiple pieces, try cutting paper templates to the size of your frames and taping them on the wall first. This lets you experiment with placement before making any holes.
If planning a full gallery wall feels overwhelming, our sets of two and three prints make it easy to create a cohesive, stylish look with minimal effort.
✔ Instant Impact – Designed to work together beautifully.
✔ Easy to Hang – No complex layouts, just a few frames and you’re done.
✔ Perfect Pairings – Thoughtfully curated to balance colour, composition, and style.
If you’re unsure how your art will look before you hang it, we can help! Our Gallery Wall Visualisation Service allows you to preview different layouts with your chosen prints.
✔ Choose your prints from our collection.
✔ Send us a photo of your space.
✔ We’ll create a digital mock-up so you can see exactly how your gallery wall will look before you hang it.
With the right approach, your walls can become a true reflection of your style and personality.
Whether you’re curating over time or styling a complete gallery wall in one go, enjoy the process and create something that feels uniquely yours.
Still have questions? We’re here to help! Get in touch, and let us help you style your perfect wall.
The golden rule is to hang artwork so that the centre of the piece is at eye level, which is typically 145-160cm (57-63 inches) from the floor.
✅ For standalone art on an empty wall: Position the centre of the artwork around 150cm (60 inches) from the floor.
✅ Above furniture (sofa, bed, console): The bottom of the frame should sit 20-30cm (8-12 inches) above the furniture.
For balance, hang your artwork 20-30cm (8-12 inches) above the sofa. If you’re creating a gallery wall, make sure the bottom frame sits around this height to connect with the furniture below.
A single artwork should be at least 2/3 the width of the furniture below it (sofa, bed, or console). If you’re using multiple prints, consider a gallery wall arrangement with balanced spacing.
The bottom of your artwork should be 20-30cm (8-12 inches) above the sofa to create a balanced look.
The ideal spacing depends on the size of the prints:
✅ Small to medium prints: 5-8cm (2-3 inches) apart.
✅ Larger prints: 10-15cm (4-6 inches) apart.
✅ Gallery walls: Keep spacing consistent for a balanced look.
💡 Pro Tip: Lay your prints on the floor first to test different arrangements before committing to nails.
Your wall art should be about ⅔ the width of your sofa for balance.
Example:
✅ 180cm (6ft) sofa? Choose artwork or a gallery wall that spans 120cm (4ft) across.
1. Choose a layout: Grid, linear, or freeform.
2. Lay out prints on the floor first to experiment with spacing.
3. Use painter’s tape to mark positions on the wall.
4. Start with the anchor piece (largest or central print) and build around it.
5. Hang using consistent spacing (5-10cm apart).
💡 Need help visualizing your gallery wall? Send us your chosen prints, and we’ll create a digital mock-up for you!
Yes! Use Command Strips or picture-hanging hooks that support your frame’s weight.
• Matching frames create a polished, structured look.
• Mixed frames add an eclectic, layered feel.
• Statement frames (bold colours or ornate designs) can highlight your feature artwork.
It depends on the weight of your artwork and wall type:
✅ Lightweight prints (under 2kg / 4lbs): Use Command Strips for damage-free hanging.
✅ Medium-weight prints (2-5kg / 4-10lbs): Use picture hooks or wall plugs.
✅ Heavy framed art (5kg+ / 10lbs+): Use screws with wall anchors or professional hanging hardware.
If your artwork keeps shifting, try:
✅ Using two hooks instead of one for better balance.
✅ Adding adhesive bumpers to the back corners of the frame to prevent slipping.
✅ Ensuring the wall is level before hanging.
1. Find where you want the top of the frame.
2. Measure from the top of the frame to the hanging wire (when stretched).
3. Add this measurement to your top-frame mark to find where the hook/nail should go.
💡 Pro Tip: Always use a level to check before drilling!


